Table of Contents
ToggleWalk into a well-designed room, and your eye knows exactly where to land. That’s not luck, it’s deliberate design. A focal point acts as the anchor that pulls a room together, giving it structure and purpose. Without one, even expensive furniture and fresh paint can feel scattered and unfinished. Whether you’re renovating a living room or freshening up a bedroom, understanding how to create and highlight a focal point can turn a collection of items into a cohesive, intentional space. Here’s how to build one that works.
Key Takeaways
- A focal point in interior design serves as the visual anchor that organizes a room and gives it structure, making the difference between a scattered space and a cohesive design.
- Choose between architectural focal points like fireplaces and windows or decorative options such as accent walls, statement lighting, and bold artwork based on your room’s existing features and budget.
- The focal point simplifies design decisions by providing a reference point for furniture placement, color selection, and decor choices, eliminating guesswork from your decorating process.
- Position your focal point where it’s visible from the main entry, arrange seating to face it, and layer complementary elements like rugs and lighting to create visual hierarchy without overwhelming the space.
- Common focal points by room include fireplaces or media consoles in living rooms, headboards in bedrooms, chandeliers in dining rooms, and range hoods or islands in kitchens.
- Creating a strong focal point requires intention and planning rather than a designer’s budget—assess existing features, choose your anchor, map the layout, execute with proper technique, and test sightlines before finalizing your design.
What Is a Focal Point in Interior Design?
A focal point is the first thing that grabs attention when someone enters a room. It’s the element that organizes the space visually and gives the eye a place to rest. Think of it as the room’s anchor, the feature everything else revolves around.
Focal points can be architectural, like a fireplace, large window, or built-in shelving. They can also be decorative, such as a statement light fixture, a bold piece of artwork, or an accent wall painted in a contrasting color. The key is that it stands out without overwhelming the rest of the design.
In practical terms, a focal point in interior design helps guide furniture arrangement and decor choices. Once you’ve identified or created your anchor, you can arrange seating to face it, hang art to complement it, or use lighting to highlight it. Without a clear focal point, rooms often feel unbalanced or directionless, like a conversation with no clear topic.
Why Every Room Needs a Strong Focal Point
A room without a focal point is like a sentence without punctuation, it’s technically functional, but something feels off. Here’s why establishing a clear anchor matters:
It creates visual hierarchy. When you give the eye somewhere intentional to land, the room feels organized. Furniture, lighting, and decor all work together to support that central feature rather than competing for attention.
It simplifies decision-making. Once you’ve chosen your focal point, the rest of the design decisions get easier. You know where to position your sofa, which wall to paint, and where to hang that oversized mirror. The focal point becomes your reference point for scale, color, and placement.
It adds personality. A strong anchor gives you a chance to inject character into the space. Whether it’s a reclaimed wood accent wall, a vintage chandelier, or a gallery wall of family photos, your focal point can reflect your style in a way that generic furniture arrangements can’t.
Many designers recommend that rooms dedicated to home decor planning start with identifying or creating this anchor before selecting paint colors or furniture. It’s the foundation that everything else builds on.
Types of Focal Points You Can Create in Your Home
Focal points fall into two broad categories: those that already exist in the architecture, and those you create through decor and design choices. Let’s break down both.
Architectural Focal Points
These are built-in features that naturally draw the eye. If you’re lucky enough to have one, use it. If not, you can often build or retrofit one with a bit of carpentry and finish work.
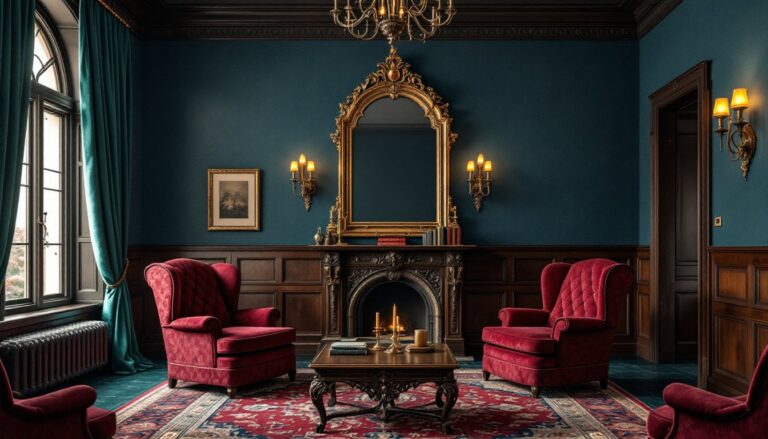
- Fireplaces: The classic focal point. Even a non-functional fireplace adds instant structure. Frame it with built-in shelving, add a mantel with decor, or clad it in tile or stone for added impact.
- Windows: Large windows, especially floor-to-ceiling or bay windows, command attention. Use minimal window treatments to keep the focus on natural light and views.
- Architectural millwork: Crown molding, coffered ceilings, wainscoting, or built-in cabinetry all qualify. These require measuring, cutting, and fastening trim or panels to studs, but they add permanent value.
- Staircases: In open-concept layouts or two-story entryways, a staircase becomes a natural anchor. Consider upgrading balusters, refinishing treads, or adding a runner for contrast.
If you’re adding architectural elements, check local building codes, especially if you’re modifying load-bearing walls or adding electrical for built-in lighting. Always use a stud finder and level when mounting heavy shelving or cabinetry.
Decorative Focal Points
When architecture doesn’t offer much, you can create a focal point through intentional decor. These are easier to change and don’t require permits or structural work.
- Accent walls: Paint one wall in a bold color, install board-and-batten, or use peel-and-stick wallpaper. Standard wall paint covers roughly 350-400 square feet per gallon, so measure your wall to avoid excess.
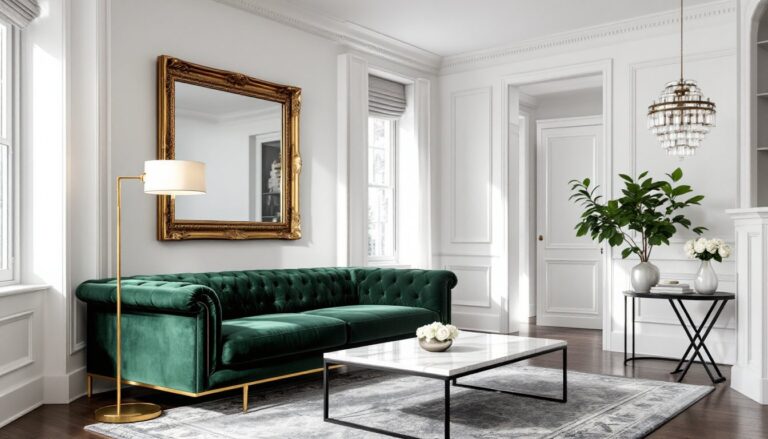
- Large-scale art: A single oversized piece or a carefully curated gallery wall can anchor a room. Hang art so the center sits at eye level, typically 57-60 inches from the floor.
- Statement lighting: Chandeliers, pendant lights, or sculptural floor lamps draw the eye upward. Make sure electrical boxes are rated for the fixture’s weight, most standard boxes support up to 50 pounds, but heavier fixtures need braced or fan-rated boxes.
- Furniture as focal point: A bold-colored sofa, an antique armoire, or a dramatic headboard can serve as the room’s anchor. Position other furniture to complement, not compete.
Designers showcased on Homedit often layer multiple decorative elements to build a cohesive focal point, such as pairing an accent wall with a statement light fixture and coordinating textiles.
How to Choose the Right Focal Point for Each Room
Not every room needs the same type of anchor. Here’s how to pick the right one based on function and layout.
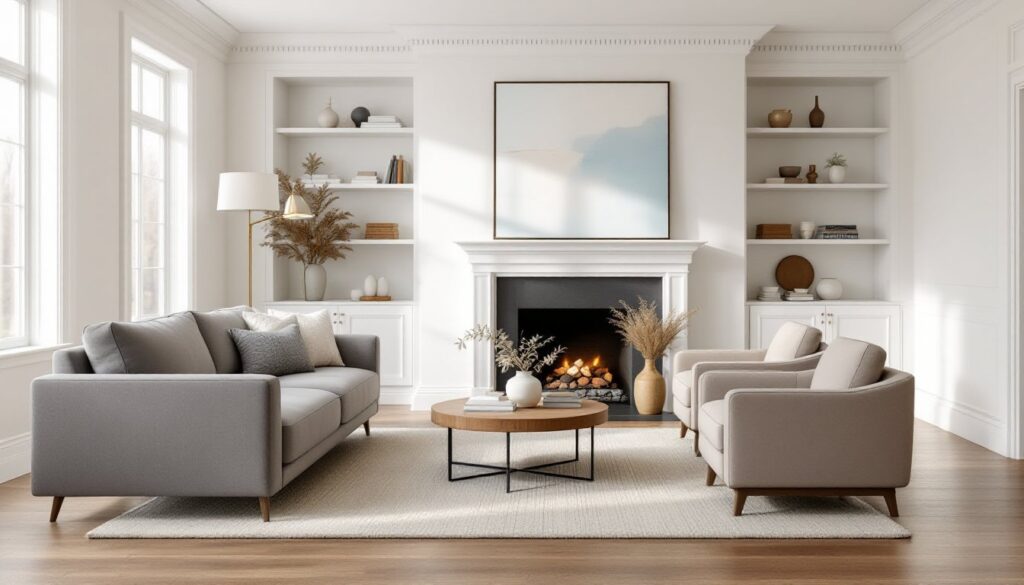
Living rooms: Fireplaces are the go-to if you have one. If not, create one with a media console and large-scale art above it, or use a picture window as the anchor and arrange seating to face it. Avoid competing focal points, if you have both a fireplace and a TV, mount the TV above the mantel or choose one to emphasize.
Bedrooms: The bed is almost always the focal point. Use an upholstered headboard, a dramatic paint color behind the bed, or layered textiles to draw attention. Positioning the bed on the wall opposite the door makes it the first thing you see. Exploring various interior design strategies can help refine this approach.
Dining rooms: A statement chandelier centered over the table is traditional and effective. Hang it so the bottom sits 30-36 inches above the table surface. Alternatively, use an accent wall with wallpaper, wainscoting, or a bold paint color. More ideas on dining room layouts can provide additional inspiration.
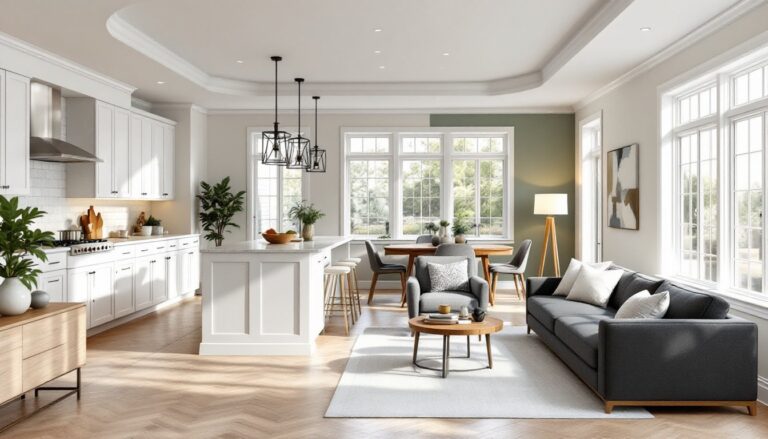
Kitchens: The range wall often becomes the focal point, especially if you add a tile backsplash, a decorative range hood, or open shelving. In open-concept spaces, a large island with pendant lighting works well.
Bathrooms: A freestanding tub, a tiled shower wall, or a statement vanity can serve as the anchor. Use accent tile, a bold mirror, or unique lighting to emphasize the feature.
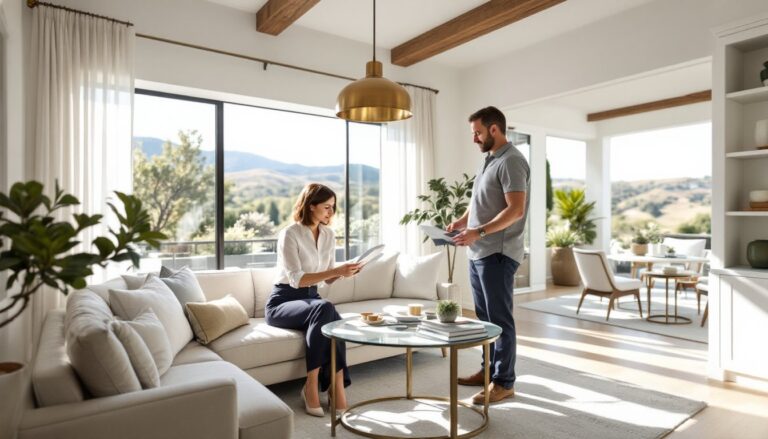
Consider the room’s natural traffic flow. The focal point should be visible from the main entry point and shouldn’t force awkward furniture arrangements.
Step-by-Step Guide to Creating a Focal Point
Ready to build your own? Here’s a practical walkthrough.
1. Assess the room’s existing features.
Walk in and note what naturally catches your eye. Is there a window, fireplace, or interesting architectural detail? If yes, that’s your starting point. If not, you’ll create one.
2. Choose your focal point type.
Decide between architectural (built-ins, millwork, structural changes) and decorative (paint, art, lighting, furniture). Architectural changes add value but require more skill and time. Decorative focal points are reversible and renter-friendly.
3. Plan the layout.
Sketch the room to scale or use painter’s tape on the floor to map furniture placement. Position seating, tables, and rugs to orient toward the focal point. Leave at least 3 feet of walkway clearance for comfortable traffic flow.
4. Prep and execute.
- For painted accent walls: Remove outlet covers, tape edges with painter’s tape, prime if painting over dark colors, then apply two coats. Use a roller for large areas and a brush for edges.
- For board-and-batten or millwork: Measure and mark stud locations. Cut boards to length using a miter saw for clean angles. Attach with finishing nails and construction adhesive, then fill nail holes, sand, prime, and paint.
- For gallery walls: Lay out frames on the floor first. Use a laser level to mark hanging points. Picture hanging wire and D-rings distribute weight better than sawtooth hangers for frames over 10 pounds.
- For lighting fixtures: Turn off power at the breaker. Confirm the electrical box is rated for the fixture weight. Connect wires (black to black, white to white, ground to ground), secure the fixture, and restore power. If you’re not comfortable with electrical work, hire a licensed electrician.
5. Layer in supporting elements.
Once the focal point is in place, add complementary decor. Use rugs to define zones, arrange furniture to face the anchor, and add lighting to highlight it. Avoid adding too many bold elements, one strong focal point per room is enough. According to trends covered on Freshome, layering textures and finishes around a single anchor creates depth without clutter.
6. Test the sightlines.
Stand in the doorway and walk through the room. Does your eye naturally land on the focal point? If it’s competing with other elements, edit. Remove or tone down anything that distracts.
Safety and code notes:
- Wear safety glasses when cutting trim or tile.
- Use a dust mask when sanding or cutting MDF, which produces fine particles.
- Heavy mirrors or shelving must be anchored into studs or use appropriate drywall anchors rated for the load.
- Electrical work must meet NEC (National Electrical Code) standards. If you’re adding new circuits or moving junction boxes, pull a permit.
For those working on broader decor projects, remember that the focal point serves as the starting line, not the finish. It gives structure, but the rest of the room still needs balance, scale, and function. Exploring additional design approaches can help tie all elements together.
Creating a focal point doesn’t require a full remodel or a designer’s budget. It requires intention. Identify what you want to highlight, build around it, and let everything else support that decision. The result is a room that feels deliberate, cohesive, and undeniably yours.